I started summer sewing, Ya for me!! The top I started to make for Zoe is McCall's M5573. Reading the instruction sheet, the first thing I see I will change is the way the top is lined. Now they have instructions to sew the lining together, then sew the top together. Sew the lining in leaving the shoulders unsewn. Then you are supposed to sew the top and slip stitch the lining UGH!! This method has never worked out for me. So I will show you my method to having a lining neat on the inside.
Saturday, April 14, 2018
Lining a Top
As I re enter the sewing room. I am going through ideas that make sewing so much easier for me. Don't be afraid to change the pattern directions. You might want to write on the pattern that changes were made, so the next time you use the pattern you will remember the changes.
I started summer sewing, Ya for me!! The top I started to make for Zoe is McCall's M5573. Reading the instruction sheet, the first thing I see I will change is the way the top is lined. Now they have instructions to sew the lining together, then sew the top together. Sew the lining in leaving the shoulders unsewn. Then you are supposed to sew the top and slip stitch the lining UGH!! This method has never worked out for me. So I will show you my method to having a lining neat on the inside.
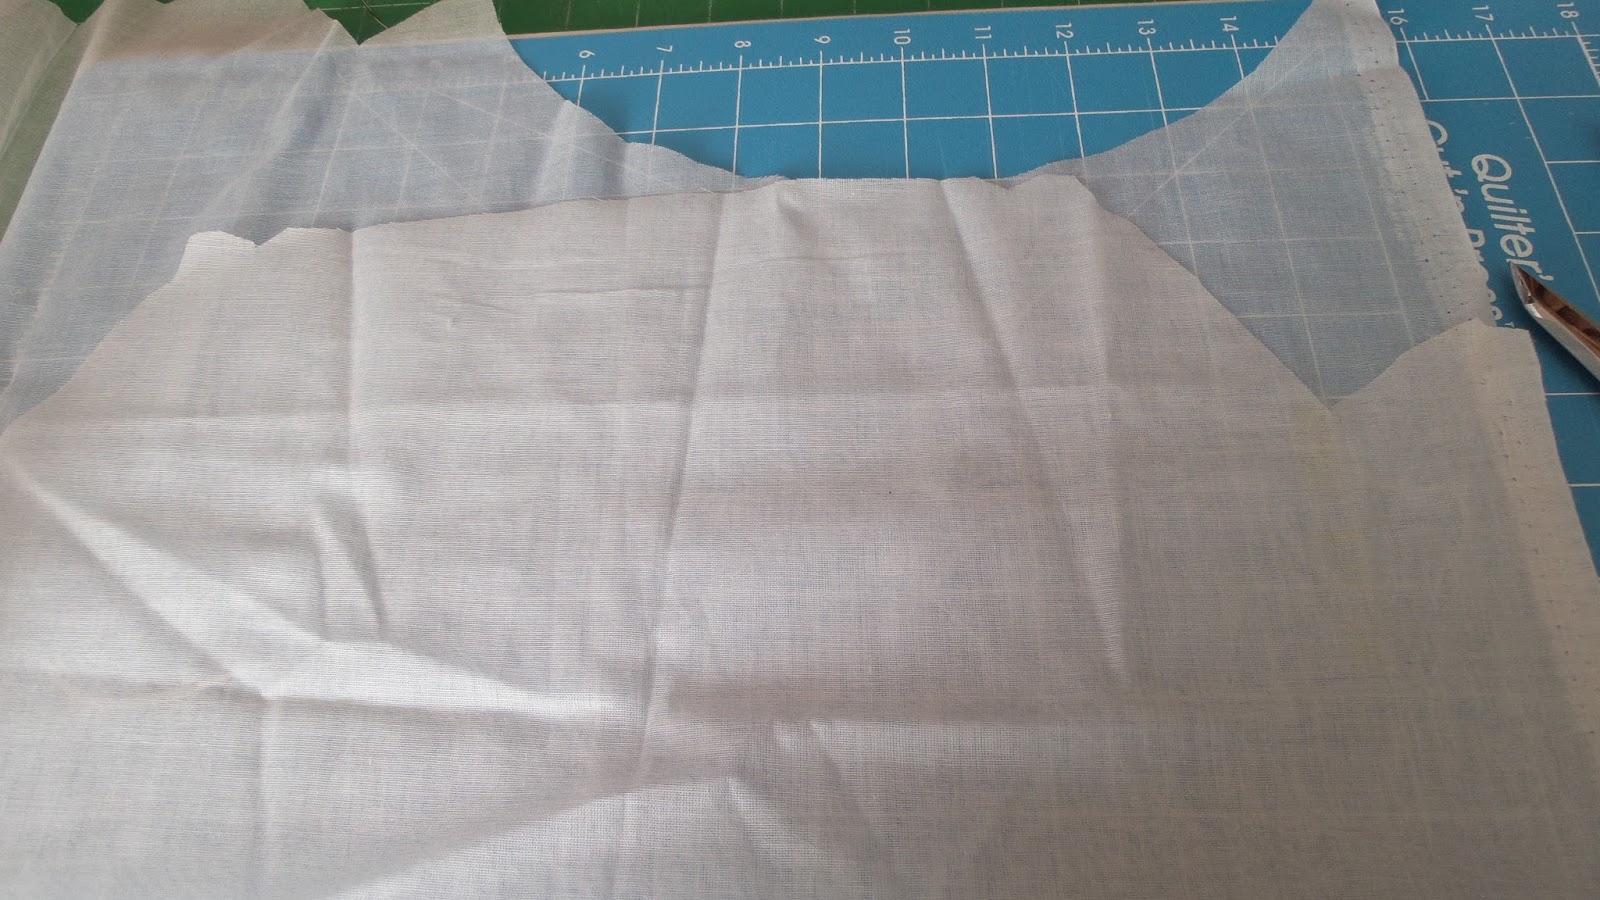
Sew the shoulder seams of both the fashion fabric and the lining. Then lay the pieces right side together and stitch up the front, around the neck edge and sew the armhole. You will be leaving the side seams open at this point.
Now, trim and clip your seams. I like to use pinking shears so I trim and clip all in one operation.
Hard to get a good picture for you. You will reach up the open back and pull the front through the shoulder.
There, you now have the lining turned. Remember the side seams are still open, so we will finish those next.
Meet fabric to fabric and lining to lining and sew in one continuous seam. Finish seam, press and you have a nice neat lined top.
I started summer sewing, Ya for me!! The top I started to make for Zoe is McCall's M5573. Reading the instruction sheet, the first thing I see I will change is the way the top is lined. Now they have instructions to sew the lining together, then sew the top together. Sew the lining in leaving the shoulders unsewn. Then you are supposed to sew the top and slip stitch the lining UGH!! This method has never worked out for me. So I will show you my method to having a lining neat on the inside.
Thursday, April 12, 2018
GERMAN INTERFACING
Still an Iron on
German interfacing, is the choice for heirloom sewing or the times you are sewing on a soft fabric, you want the fabric to have body, but still remain soft.
Yes, this looks wrinkled and out of control but! you can not iron this interfacing until you iron it to your fabric. It is batiste fabric with a backing that is the glue that adheres to your fabric.
It does shrink. so when you get it, soak it in hot water. Carefully remove and wrap in a towel to get the moisture out, then hang to dry. Remember, this has a glue backing.
I will be using this interfacing, to face the brim of my bonnet.
Not layed out perfect yet, but to show
I use every little piece of this interfacing,
also, the interfacing is batiste, so it has
a grain line. I will need to lay this out
better.
I am hoping, when it is together, that will be the brim to my bonnet.
German interfacing has a lot of uses, I love it. One more thing if you love smocking, is to iron it on your fabric before pleating it. You will have nice pleats that stand up and look full.
Tuesday, April 10, 2018
IRON ON INTERFACING
Bad Rap
Iron on interfacing has gotten a bad rap through the years.
Personally, I like it very much, but, you have to apply it correctly.
Not all brands are the same, so the first thing you will want to do, is to make a sample. You will use the same fabric that your project will be made from.
Cut a 4"x4" square of your interfacing. Placing it on a surface that can take heat, such as an ironing pad, steam the piece. DO NOT! touch the iron to the interfacing, hold the iron above the piece and then hit it with steam. what you are doing is preshrinking. Now, not all pieces will shrink. but it is better to find out now.
Now, cut a 4"x4" square of the fabric you plan to use for your finished project.
Apply the interfacing to the wrong side, using lots of steam, I even use a damp press cloth. Hold the iron on the fabric for at least 10-12 seconds. Do not slide the iron, just use some pressure and steam.
Now, check the results
Is it smooth? do you like the feel of the interfaced fabric?
If you are happy with the results then go ahead and use this interfacing on your project.
There is a variety of weights and also different companies to chose from. Just take a few minutes to do a sample.
Subscribe to:
Posts (Atom)